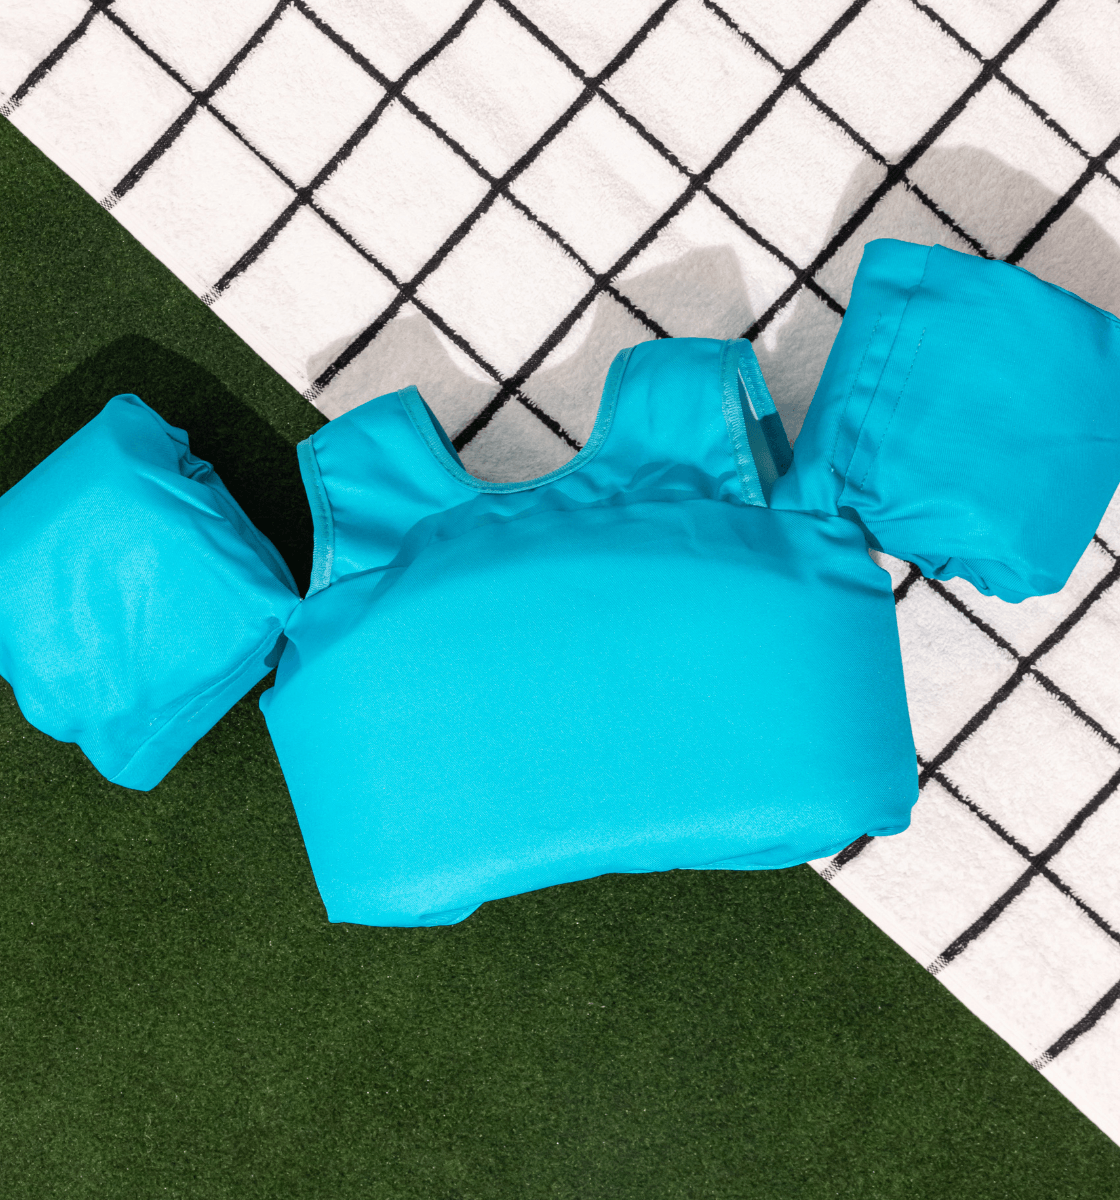


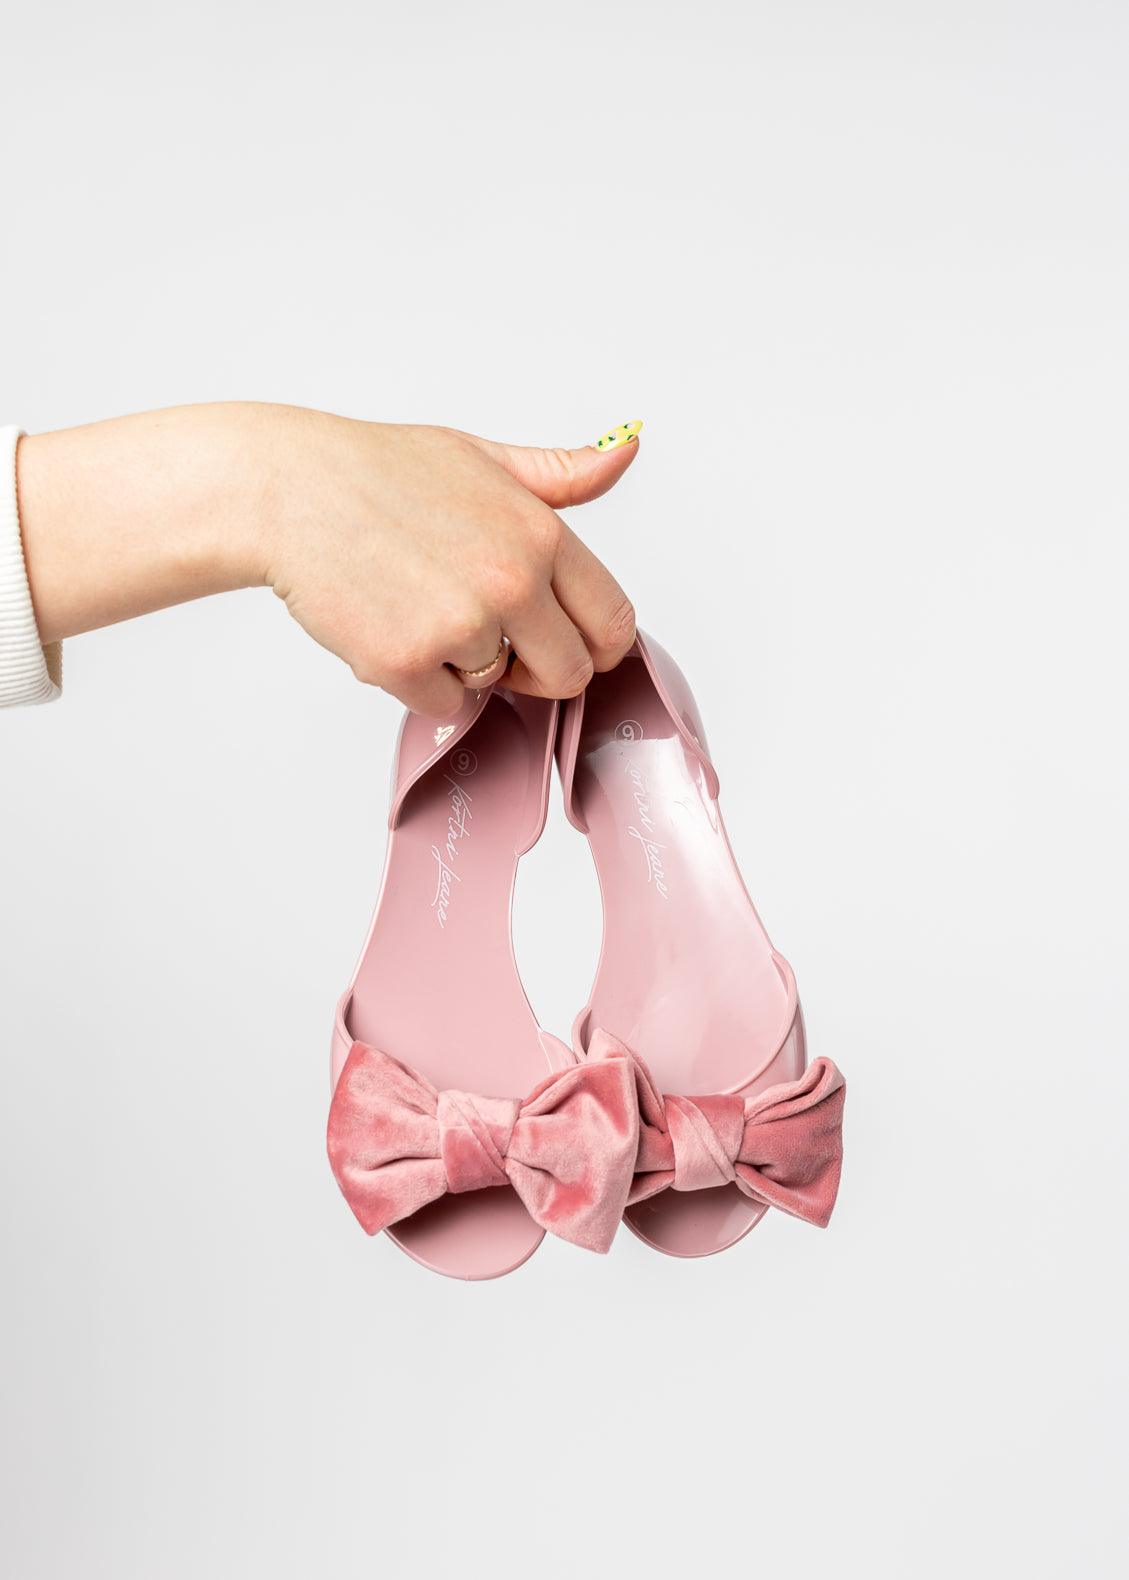


Provo Warehouse Sale!
Our semi-annual Kortni Jeane Warehouse Sale is happening THIS weekend, and we couldn't be more excited about what we have in store. There are prints, patterns and styles from past swim lines that are no longer...
 Skip to content


This Christmas season we wanted to create some holiday decorations to put around the Kortni Jeane office. What's more festive than a Vintage Christmas Light Garland?{With a splash of pink, of course}.
This is a simple and relatively cheap craft. It doesn't take too much talent to put together BUT does add a lot to the space you are decorating!
Items you will need:
Gold Wire Tinsel // similar here
Clear vintage light bulbs (not on a string) // similar here
High gloss paint (4-5 colors) // similar here
Hot glue gun
Paint brushes
Ruler (or something to measure with)

The first step is to paint each light bulb your desired colors. Paint 2-3 coats of paint, making sure to let bulbs dry completely (30-45 minutes) in-between painting.

{Colors from left to right, then top to bottom: Crimson, Ocean, Bubblegum, Pool, White}
We created a place for the bulbs to dry from the box they came in, but you can also do the same thing by punching holes in an old cardboard box.

Next, get out the gold tinsel wire and make sure your hot glue gun is hot!

Begin gluing each bulb onto the wire, mix-matching the colors in whatever order you want. This is the best time to get out a ruler to make sure the bulbs are the same distance apart so they are spaced out evenly along the wire.

...and voilà! Your Vintage Christmas Light Garland is finished and ready to be hung!

{original craft by My Sister's Suitcase}
Let us know how it went for you!
xoxo, Kortni Jeane + Team
0 comments

